Congratulations on deciding to install a CB microphone in your vehicle! This essential device allows you to communicate with other drivers on the road, enhancing your safety and convenience. However, it’s important to ensure that the installation process is done correctly to avoid any potential hazards. With the right tools and step-by-step guidance, you can easily install a CB microphone in your vehicle in no time. In this blog post, we will walk you through the process of installing a CB microphone, highlighting the key steps and potential challenges to be aware of. By the end of this guide, you will have the knowledge and confidence to successfully install a CB microphone in your vehicle.
Table of Contents
Key Takeaways:
- Choose the right location: Select a suitable location for your CB microphone that is within reach and won’t obstruct your driving.
- Mount the microphone securely: Use a sturdy and reliable mounting system to ensure the microphone stays in place while driving.
- Route the cable properly: Avoid interference and damage by carefully routing the microphone cable away from other wiring and sharp edges.
- Use the appropriate connectors: Ensure the microphone is compatible with your CB radio and use the correct connectors for a secure and reliable connection.
- Test the functionality: Before hitting the road, test the microphone to make sure it is working properly and adjust the positioning if necessary.
Preparing for Installation
Clearly, before you start installing your CB microphone in your vehicle, you need to make sure you have everything you need and take the necessary precautions to ensure a successful and safe installation.
Tools and Materials Needed
Before you start the installation process, gather the necessary tools and materials. You will need a CB microphone kit, a screwdriver, wire cutters/strippers, electrical tape, a power drill, and a mounting bracket. Make sure you have all the required components before you start the installation to avoid any delays.
Safety Precautions and Best Practices
When working on your vehicle, safety should be your top priority. Always disconnect the vehicle’s battery before starting any work to prevent electrical shock or damage to the vehicle’s electrical system. Ensure you are working in a well-ventilated area and have proper lighting to see what you are doing. Additionally, always follow the manufacturer’s instructions for the CB microphone installation and use proper safety gear, including gloves and safety glasses, to protect yourself from any potential hazards during the installation process.
Installation Steps
If you are looking to install a CB microphone in your vehicle, there are a few key steps you will need to follow to ensure that it is done correctly. For a detailed guide on mounting a CB in your vehicle, you can check out this helpful resource on Mounting a CB in the vehicle.
Mounting the CB Radio
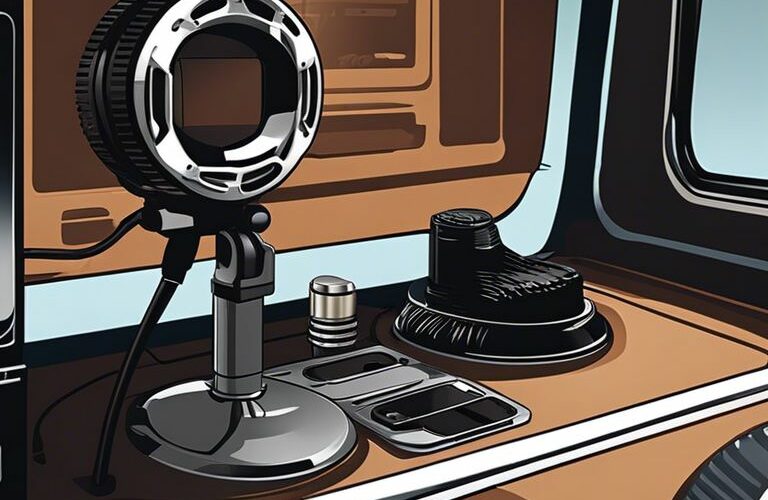
When it comes to mounting your CB radio in your vehicle, it’s important to find a location that is both easily accessible and secure. You want to make sure that the radio is mounted in a place where it will not obstruct your view or interfere with any driving controls. Additionally, make sure to use strong mounting hardware to secure the radio in place. Ensure that the mounting location is safe and will not become a hazard in the event of an accident.
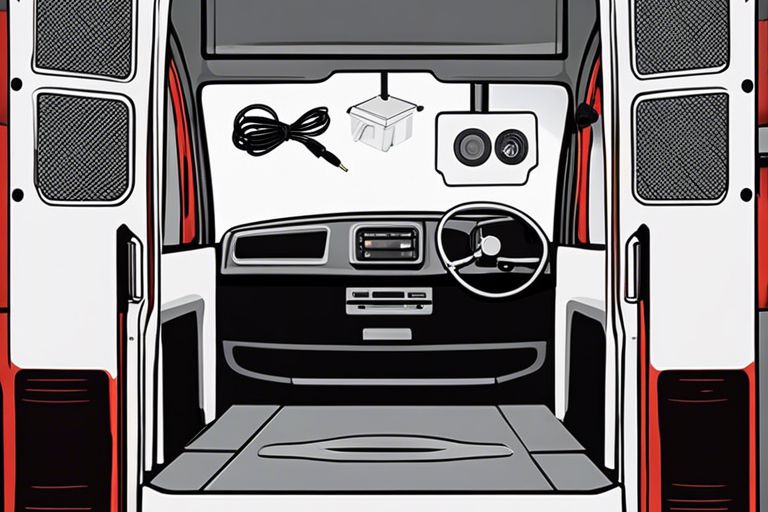
Wiring the CB Microphone
Once the CB radio is securely mounted, the next step is to wire the microphone. This involves connecting the microphone to the radio using the appropriate cabling and ensuring that all connections are secure. It is important to follow the manufacturer’s instructions carefully to avoid any potential damage to the equipment. Additionally, you will need to run the wiring from the radio to the power source and antenna, ensuring that it is neatly and securely installed to prevent any interference or damage while driving.
By following these installation steps, you can ensure that your CB microphone is properly installed in your vehicle, allowing you to communicate effectively while on the road.
Testing and Troubleshooting
Despite following the installation instructions carefully, it is essential to test your CB microphone to ensure that it is functioning properly. Testing and troubleshooting are necessary steps to take before hitting the road to avoid any communication issues while on your journey. This chapter will guide you through the process of testing and troubleshooting your newly installed CB microphone in your vehicle.
Initial Functionality Test
Once the CB microphone is installed, the first step is to conduct an initial functionality test. To do this, connect your CB radio to power and turn it on. Next, key the microphone and speak into it. If your voice is transmitted clearly and effectively through the CB radio, then congratulations – your initial functionality test is a success. However, if you encounter any issues, proceed to the next subsection to troubleshoot the problem.
Common Issues and How to Resolve Them
Some common issues that you may encounter during the initial functionality test include poor audio quality, no audio output, or excessive background noise. To resolve poor audio quality, check the microphone’s connection to the CB radio and ensure that it is secured properly. If there is no audio output, inspect the wiring and connections to identify any loose or damaged components. Additionally, excessive background noise could be a result of a faulty microphone or interference from other electronic devices in your vehicle. In such cases, consider purchasing a noise-canceling microphone or relocating electronic devices to minimize interference.
Maintenance and Care
Not all the work is done once you have installed your CB microphone in your vehicle. Proper maintenance and care are essential to ensure that your CB microphone performs at its best and lasts a long time. Here are some tips on how to keep your CB microphone in top condition.
Routine Maintenance Tips
Regularly check the cables, connectors, and mounting hardware of your CB microphone for any signs of wear and tear. Clean the connections with a small brush or compressed air to remove any dirt or debris that may have accumulated. Ensure that the microphone is securely mounted and the cables are not tangled or pinched, as this can cause interference or even damage to the equipment. Lastly, periodically test your CB microphone to make sure it is functioning properly.
- Check cables, connectors, and mounting hardware regularly
- Clean connections with brush or compressed air
- Verify secure mounting and untangled cables
- Periodically test your CB microphone
This will help you catch any potential issues early on and prevent them from affecting your communications while on the road. This proactive approach to maintenance will ensure that you can rely on your CB microphone when you need it most.
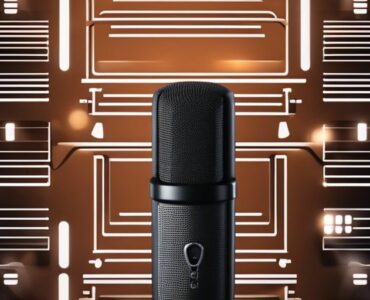
Upgrading Your CB Microphone Setup
If you find that your current CB microphone setup is not meeting your needs, consider upgrading to a more advanced model. Look for a microphone that offers noise-canceling technology to eliminate background noise, ensuring clear and crisp communications. Additionally, you may want to invest in a higher quality microphone that is more durable and offers better performance. Upgrading your CB microphone setup can greatly enhance your communication capabilities on the road.
To wrap up
To install a CB microphone in your vehicle, you need to carefully follow a few steps. First, find a suitable location to mount the microphone, making sure it is within easy reach while driving. Then, securely fasten the microphone mount to the chosen location using the appropriate tools. After that, route the microphone cable through the vehicle’s interior to the CB radio, ensuring it is hidden and protected from damage. Finally, connect the microphone cable to the CB radio, carefully ensuring the connections are secure. By following these steps, you can easily and effectively install a CB microphone in your vehicle and enjoy reliable communication while on the road.
FAQ
Q: What tools do I need to install a CB microphone in my vehicle?
A: You will need a Phillips head screwdriver, wire strippers, electrical tape, a mounting bracket, and the appropriate CB microphone kit for your vehicle.
Q: Where is the best location to mount a CB microphone in my vehicle?
A: The best location to mount your CB microphone is typically within reach of the driver, on the side of the dashboard or the underside of the roof. Avoid mounting it near airbags, as this can interfere with their function.
Q: How do I connect the CB microphone to my vehicle’s existing CB radio system?
A: First, identify the microphone plug on the CB radio. Then, connect the cable from your new microphone to the microphone plug. Use the wire strippers to expose the wires, then twist and connect the corresponding colors together and cover in electrical tape. Test the microphone to ensure it is working properly.


Add comment